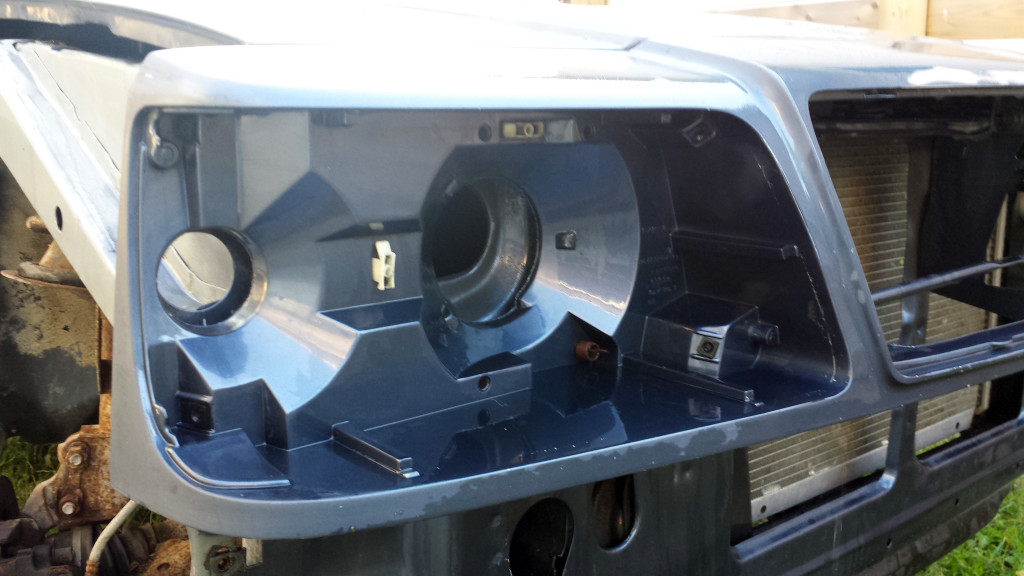
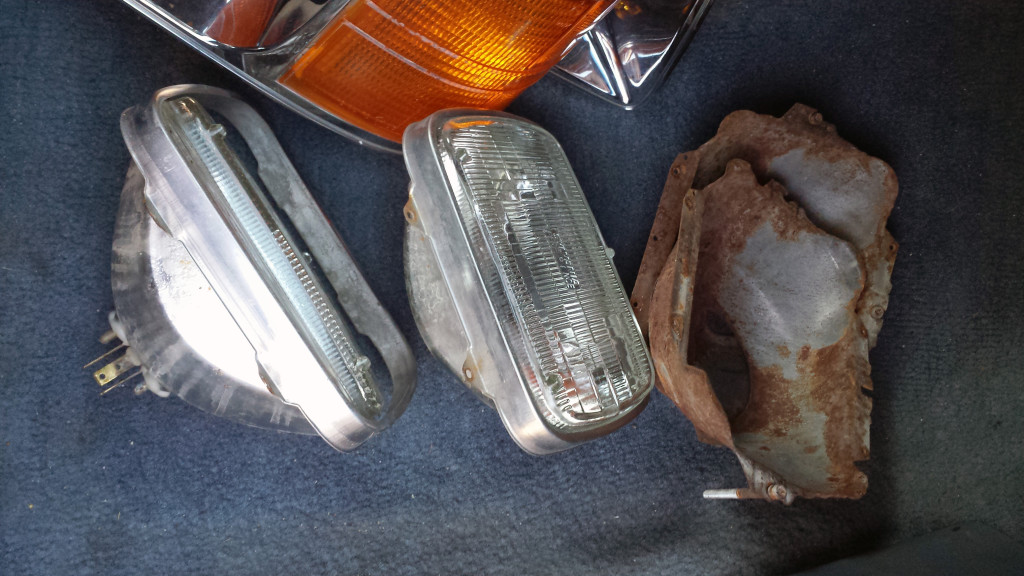
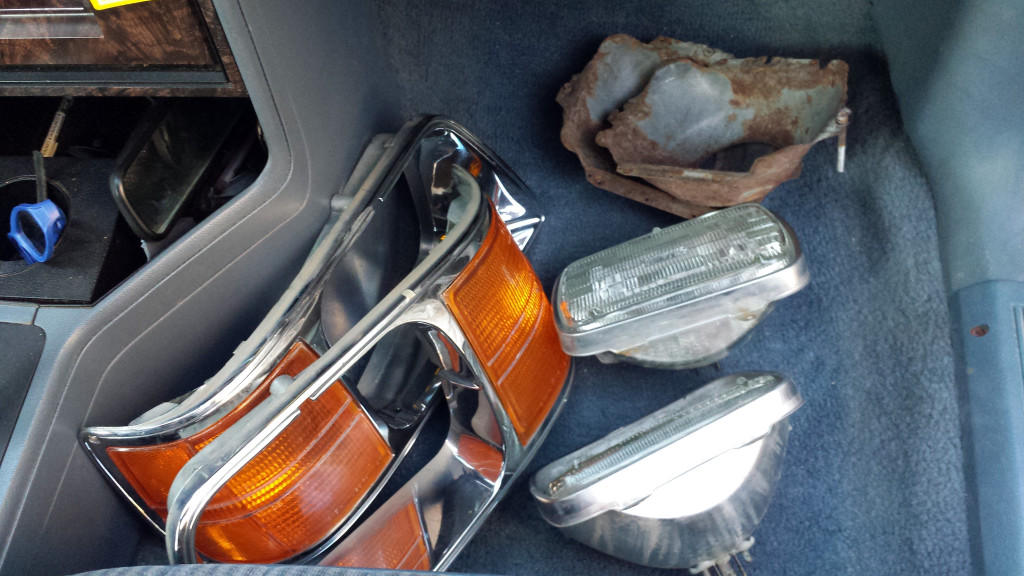
I’m prepping the front for some paint, but first I had to get all the gross built-up crud out from behind those headlights!
I took the headlight bulbs out, as well as the metal shroud things behind them. They are pretty rusty, probably from all the moisture behind the lights over the years, so I think I will clean them up and paint them black. I broke one of the brittle plastic clips on the driver’s side light while attempting to get it to unscrew, but I think it will be fine as is.
I bought some ZEP industrial strength degreaser spray and scrubbed away the built up black tar slime that was there. It came out pretty well – not perfect but definitely pretty clean and grime-free. I also started a bit into the engine bay, but I will save that work for another day. The degreaser works really well, with a little bit of scrubbing with shop towels. I think I’ll need to get some gentle nylon scrubbers or sponges (maybe a toothbrush) to get into some of the smaller spots.
Next step is to lightly sand and spray the front fascia flat black and then put the metal bumper back on. Because I’ve decided to remove the rubbery trim around the car, I’m going to need to modify the bumper covers because they will stick out too far on the sides. I need to determine the best way to do that, so I may leave the bumper covers off for now.
Also, I’ve gotta finish up pulling that dent in the side panel and get some more sanding and grinding in.


